Category: Workshop and Tools

  • How to Use a Circular Saw Safely: A Beginner’s Guide

    How to Use a Circular Saw Safely: A Beginner’s Guide

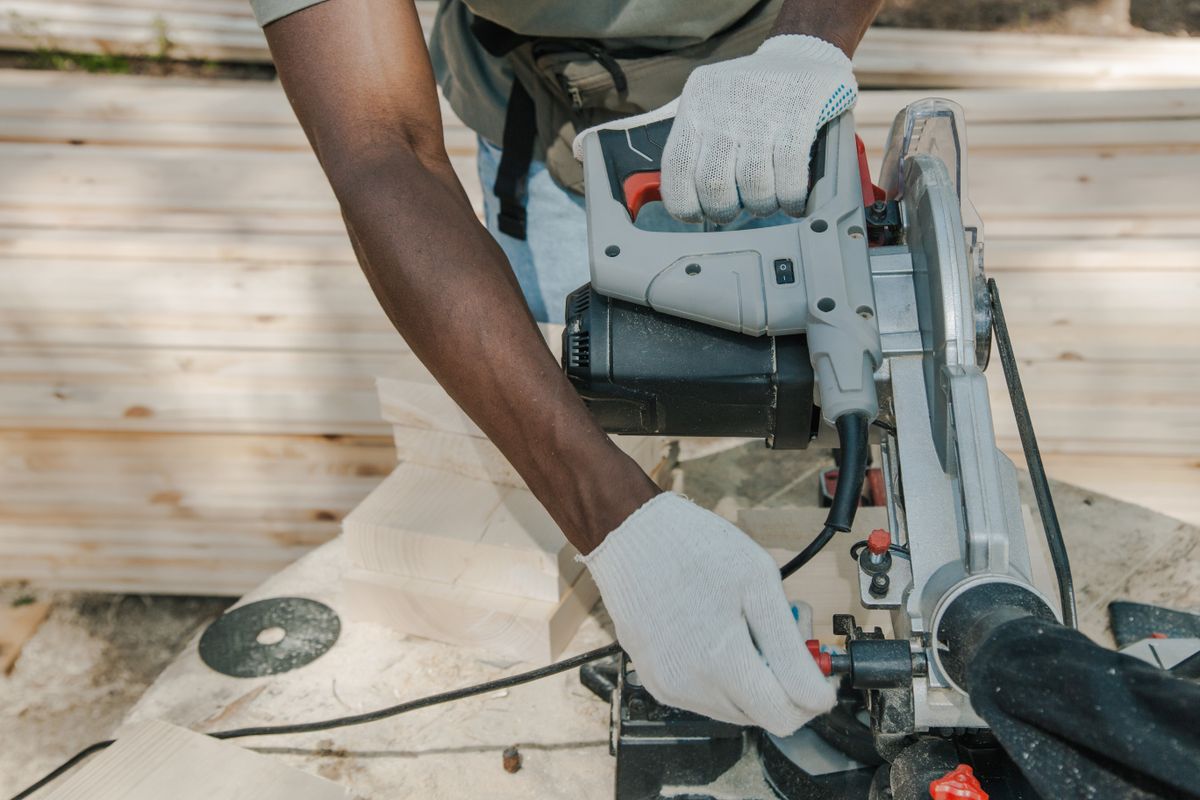
    A circular saw is one of the most useful power tools you can own. It cuts boards to length, rips plywood sheets into strips, and handles most of the cuts a beginner project needs. It also demands respect. This guide shows you how to use a circular saw safely, step by step, so your first cuts are straight and controlled.

    Know the Parts Before You Plug It In

    • Blade guard: the spring-loaded cover that retracts as you cut. Never pin it open.
    • Base plate (shoe): the flat plate that rides on the wood. It has a notch that shows where the blade will cut.
    • Depth adjustment: a lever that raises or lowers the blade.
    • Bevel adjustment: tilts the blade for angled cuts.
    • Trigger and safety switch: most saws need both pressed to start.

    Most homeowner saws use a 7-1/4 inch blade. A 24-tooth blade is fine for rough framing lumber, while a 40-tooth or higher blade leaves cleaner edges on plywood and finish boards.

    Safety Gear and Setup

    • Wear safety glasses and hearing protection every time.
    • Skip loose sleeves, gloves that can catch, and dangling cords or jewelry.
    • Unplug the saw or remove the battery before changing the blade or adjusting it.
    • Keep the power cord behind the saw, never in the cutting path.

    Step-by-Step: Making a Straight Cut

    1. Mark your line. Measure, then draw a clear line with a pencil and a speed square.
    2. Support the board properly. Lay the board across two sawhorses or on a sheet of rigid foam insulation on the floor. The piece you keep and the offcut should both be supported so the cut does not close up and pinch the blade.
    3. Clamp it. A clamped board cannot shift mid-cut. Your hands stay on the saw.
    4. Set the blade depth. Unplug the saw, then set the blade so it extends about 1/4 inch below the bottom of the board. A shallow blade is safer and cuts more cleanly.
    5. Line up the blade. Rest the front of the base plate on the board and align the notch with your pencil line, keeping the blade on the waste side of the line.
    6. Start the saw before it touches the wood. Let the blade reach full speed, then push forward smoothly.
    7. Let the saw do the work. Feed at a steady pace without forcing it. If the motor bogs down, slow down.
    8. Finish and wait. Complete the cut, release the trigger, and let the blade stop completely before lifting the saw.

    How to Avoid Kickback

    Kickback happens when the blade binds and the saw jumps back toward you. To prevent it:

    • Never cut a board supported only in the middle or only at the ends, because the kerf will pinch.
    • Stand to the side of the saw, not directly behind it.
    • Use a sharp blade. A dull blade burns and binds.
    • Do not twist the saw to steer back onto a line. Stop, back out, and restart the cut.

    Getting Straighter Cuts

    For long, straight cuts, clamp a straightedge such as a factory edge of plywood or a level to the board and run the base plate against it. Measure the distance from the edge of the base plate to the blade so you know where to place the guide. A speed square held firmly against the board makes an easy guide for short crosscuts.

    Practice Before Your First Project

    Make a few practice cuts on scrap 2x4s before cutting good material. Once your cuts are clean and confident, you are ready for a first build. Our list of basic tools for beginners covers what to pair with your saw, and our easy woodworking projects for beginners give you something useful to build with it.

    Setting up your workspace?

    If you are building or upgrading a small home workshop, our review of The Ultimate Small Shop covers a guide to choosing tools, layouts, dust control and safety for small spaces.

    Read the Small Shop Guide review →
  • Dust Collection for a Small Woodworking Shop: A Beginner’s Guide

    Dust Collection for a Small Woodworking Shop: A Beginner’s Guide

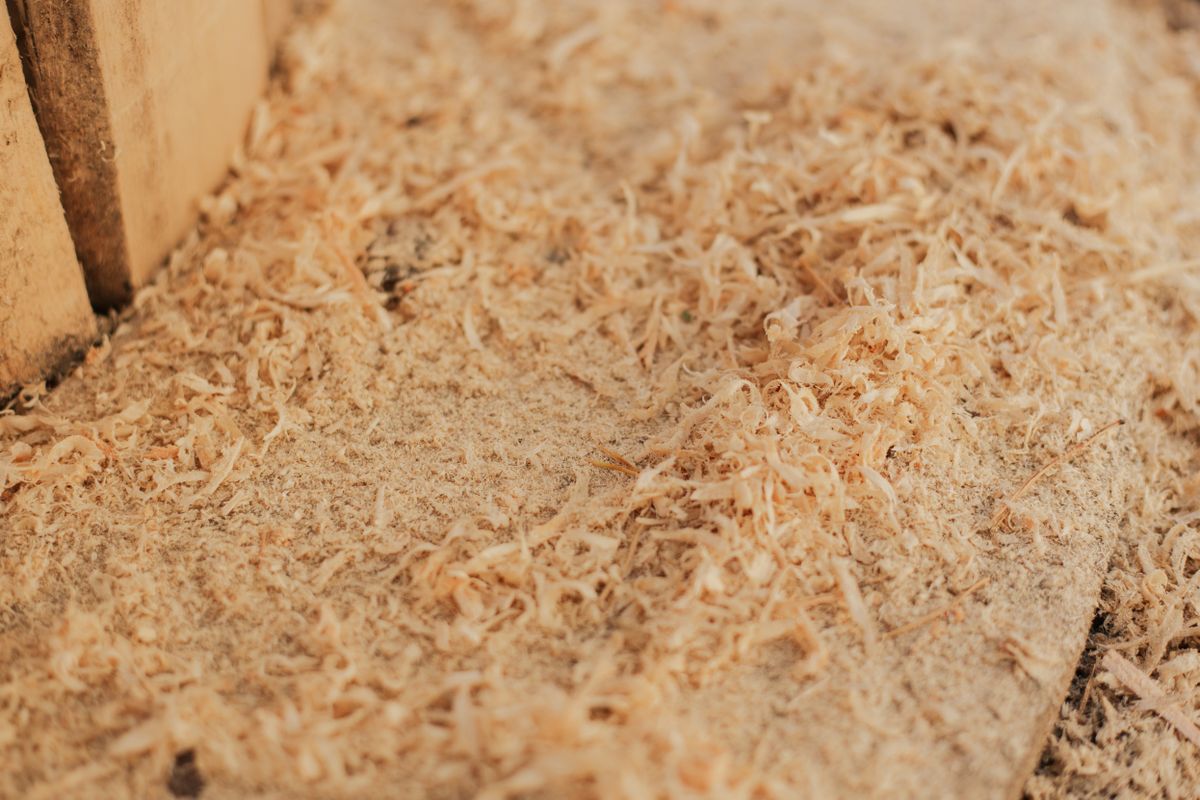
    Sawdust is part of woodworking, but it should not end up in your lungs, your house or every corner of the garage. Fine dust from sanding and cutting can linger in the air long after you stop working. In a small shop with limited airflow, it builds up even faster. This guide explains small shop dust collection in plain terms, from a basic shop vacuum to air filtration, so you can work cleaner and healthier.

    Two Kinds of Dust

    • Chips and coarse dust: the visible shavings from saws and planers. Messy, but they settle quickly.
    • Fine dust: tiny particles from sanding and cutting that float in the air and are easy to breathe in. This is the dust that matters most for your health.

    A good setup handles both: capture dust at the tool, and clean the air that escapes.

    Step 1: Start With a Shop Vacuum

    For most beginners, a shop vacuum is the best first step. Connected directly to a sander, router or small saw, it captures dust right at the source.

    • Choose a model with a fine-dust filter.
    • Look for a hose adapter kit to fit different tool ports.
    • An automatic tool-activated switch turns the vacuum on when the tool starts, which is very convenient.

    Step 2: Add a Cyclone Separator

    A cyclone separator sits between the tool and the vacuum, usually on top of a bucket. It spins most of the dust out into the bucket before it reaches the vacuum.

    • Your vacuum filter stays clean much longer.
    • Suction stays strong.
    • Emptying a bucket is easier than changing filters and bags.

    This is one of the most cost-effective upgrades for a small shop.

    Step 3: Consider a Dust Collector for Bigger Tools

    Tools like table saws, planers and jointers produce a large volume of chips. A shop vacuum struggles to keep up. A dedicated dust collector moves much more air through a wider hose. In a small shop, a compact single-stage collector on a mobile base can be rolled to whichever machine you are using.

    Step 4: Clean the Air

    Even good collection at the tool lets some fine dust escape. An air filtration unit hung from the ceiling pulls room air through filters and catches particles floating around. Run it while you work and for a while after you stop. A simple budget alternative some woodworkers use is a box fan with a furnace filter attached, though a purpose-built unit is more effective.

    Step 5: Protect Yourself

    Collection and filtration reduce dust, but they do not remove it all. Wear a properly fitted dust mask or respirator rated for fine particles whenever you sand or cut, especially in a small, enclosed space. Safety glasses keep chips out of your eyes.

    Habits That Help

    • Sand with the vacuum connected whenever possible.
    • Sweep less and vacuum more. Sweeping throws fine dust back into the air.
    • Empty the separator bucket before it gets full.
    • Clean or replace filters regularly.
    • Open a window or door for fresh air when the weather allows.

    Dust and Fire Safety

    Fine wood dust and finishing rags can be a fire risk. Keep the shop clean, empty dust containers regularly, and dispose of oily finishing rags properly by laying them flat to dry outdoors or storing them in a sealed metal container. Keep a fire extinguisher within reach.

    A Simple Starter Setup

    1. Shop vacuum with a fine filter
    2. Cyclone separator on a bucket
    3. Hose adapters for your sander and saws
    4. A good dust mask or respirator
    5. An air filtration unit when your budget allows

    Final Thoughts

    You do not need an expensive ducted system to keep a small shop clean. Start with a shop vacuum and a cyclone separator, protect your lungs, and add an air cleaner as you grow. For a full plan covering dust, ventilation, heating, power and layout in tight spaces, see our review of The Ultimate Small Shop, and our small shop layout ideas for fitting everything in.

  • Small Woodworking Shop Layout Ideas for Garages and Basements

    Small Woodworking Shop Layout Ideas for Garages and Basements

    You do not need a huge space to build beautiful things. Many woodworkers turn out furniture from a single garage bay, a basement corner or even a backyard shed. What makes a small shop work is the layout. This guide shares practical small woodworking shop layout ideas that help you fit more into less space and work more safely.

    Start With Your Workflow

    Wood moves through a shop in a fairly predictable order:

    1. Storage: boards and sheet goods arrive and wait.
    2. Breakdown: long boards and sheets are cut to rough size.
    3. Milling and cutting: parts are cut to final size.
    4. Assembly: parts are joined and glued.
    5. Finishing: sanding, staining and sealing.

    Arrange your space so material flows in that order, ideally from the door toward the back. You will spend less time carrying boards around tools.

    Make the Workbench the Center

    In a small shop the workbench is the heart of everything. It is your assembly table, layout station and often your outfeed support. Place it where you can walk around at least two sides. If space is very tight, a sturdy wall-mounted or folding bench can work. Keep it at a comfortable height, roughly at your wrist when your arms hang at your sides.

    Put Tools on Wheels

    Mobile bases are the single biggest space saver in a small shop. With tools on locking casters you can:

    • Roll a tool to the center of the room to use it
    • Push it back against the wall when you are done
    • Rearrange the shop for each project

    Tools that work well on wheels include a table saw, miter saw station, planer, router table and dust collector.

    Think Vertically

    Floor space is precious. Walls are not.

    • French cleats: a simple system of angled wall strips that lets you hang and rearrange tool holders.
    • Pegboard: good for lightweight hand tools you reach for often.
    • Lumber racks: store boards horizontally on wall brackets instead of leaning them in a corner.
    • Overhead storage: ceiling racks are ideal for long offcuts and seasonal items.

    Leave Room for Long Boards

    Saws need space in front of and behind the blade for long boards and sheet goods. When planning, check the infeed and outfeed clearance of each cutting tool. A common trick is to position the table saw so long boards can pass through the garage door or along the longest wall.

    Combine Functions

    In a small space, one surface often does several jobs:

    • A table saw extension wing can double as a router table.
    • The workbench can be the same height as the table saw so it serves as outfeed support.
    • A rolling cart can hold a miter saw and store blades and clamps underneath.

    Light and Power

    Good lighting makes small shops feel bigger and work safer. Bright LED shop lights spread evenly across the ceiling remove shadows on your work. Plan outlets where the tools will actually be used to avoid extension cords across the floor. For any new wiring, hire a licensed electrician and follow local codes.

    Dust and Air

    Dust builds up fast in a small room. Plan a spot for a shop vacuum or dust collector early, and keep a path for fresh air. Our guide to dust collection for a small shop covers simple options that fit tight spaces.

    Sample Layouts

    • One-car garage: lumber rack on the side wall, mobile table saw in the center, workbench at the back, finishing area near the door for ventilation.
    • Basement corner: wall-mounted bench, hand tools on French cleats, a compact miter saw on a rolling cart, and a shop vac with a cyclone separator.
    • Backyard shed: bench under the window for light, tools on the walls, and project storage in the loft or rafters.

    Plan It on Paper First

    Measure your space and each tool, cut paper or cardboard shapes to scale, and move them around on a floor plan. It is much easier to rearrange paper than a 300-pound machine.

    Final Thoughts

    A small shop can be a very productive one when the layout follows your workflow, tools are mobile, and walls do the storage work. If you want a complete planning guide for tools, layout, power and dust control in tight spaces, see our review of The Ultimate Small Shop.

  • Easy Woodworking Projects for Beginners: A Practical Starter Guide

    Easy Woodworking Projects for Beginners: A Practical Starter Guide

    Affiliate disclosure: This article contains affiliate links. If you buy through them, I may earn a commission at no extra cost to you.

    Woodworking can look intimidating from the outside, with its expensive machines, complicated joinery, and years of experience that seem to separate hobbyists from the pros. The good news is that most people can start with a few basic tools, a small workspace, and a project that teaches them the fundamentals. This guide to easy woodworking projects for beginners walks you through what you actually need and how to choose your first builds.

    What You Really Need to Start

    You do not need a full workshop to begin. A small set of hand tools and a few power tools will cover most beginner projects:

    • A quality tape measure and combination square for accurate marking
    • A handsaw or circular saw for breaking down boards
    • A drill/driver for pilot holes, screws, and simple assembly
    • Clamps, which hold pieces while glue dries
    • Sandpaper and a sanding block for a clean finish
    • Wood glue and wood screws for basic joints

    Start with what you have and add tools as your projects demand them. Buying everything at once often leads to a garage full of equipment you rarely use.

    Pick Projects That Teach Core Skills

    Your first projects should be simple enough to finish in a weekend but challenging enough to teach you something. Good starter ideas include:

    • A small shelf or wall cubby, which teaches measuring, cutting square, and fastening
    • A cutting board, which introduces grain direction, sanding, and food-safe finishing
    • A simple plant stand or step stool, which adds basic load-bearing and joinery
    • A storage box, a great way to practice mitered or butt joints

    Each project builds on the last. Once you can cut accurate, square pieces and assemble them without wobbling, you are ready for more ambitious builds.

    Use Plans to Avoid Costly Mistakes

    One of the biggest reasons beginners get discouraged is starting a project without a clear plan. Mismeasured parts, unclear cut lists, and missing steps waste time and wood. Detailed plans with materials lists, cut diagrams, and step-by-step instructions remove much of that guesswork and let you focus on learning the craft.

    If you want a structured way to get started, a collection of ready-made woodworking plans is one of the most efficient options.

    Browse beginner woodworking plans here →

    Safety Basics Before You Cut

    • Wear eye protection and hearing protection around loud tools.
    • Keep your fingers well away from blades, and never freehand a cut you can clamp.
    • Work in a clean, well-lit area with good ventilation, especially when sanding or finishing.
    • Unplug power tools before changing blades or bits.

    Final Thoughts

    Your first woodworking project will not be perfect, and that is fine. Every cut teaches you something about wood, tools, and patience. Start small, buy tools as you need them, follow clear plans, and celebrate each finished piece.

    Start your first build today →

    Related guides: best wood for beginners, how to build a simple bookshelf, and our overview of woodworking plans for beginners.

  • How to Build a Simple Bookshelf: Beginner Step-by-Step

    How to Build a Simple Bookshelf: Beginner Step-by-Step

    A bookshelf is one of the best first furniture projects. It uses straight cuts, simple joints, and common boards, and you end up with something you will use every day. This guide shows you how to build a bookshelf about 36 inches tall and 30 inches wide using basic tools.

    What You Will Need

    Materials:

    • Two 1×10 pine boards, 8 feet long (actual size about 3/4 x 9-1/4 inches)
    • One sheet of 1/4 inch plywood, at least 30 x 36 inches, for the back
    • Wood glue
    • 1-1/4 inch wood screws or 1-1/4 inch pocket screws
    • 3/4 inch brad nails or small screws for the back
    • Sandpaper (120 and 180 grit), and paint or stain
    • A furniture anti-tip kit

    Tools: tape measure, speed square, circular saw or miter saw, drill/driver, clamps, and optionally a pocket-hole jig.

    Cut List

    • Sides: 2 pieces at 36 inches
    • Shelves (top, bottom, and two middle): 4 pieces at 28-1/2 inches
    • Back: 1 piece of plywood at 30 x 36 inches

    The shelves are 28-1/2 inches because the two sides add 1-1/2 inches, giving an overall width of 30 inches. Keeping shelf spans around 30 inches or less helps 3/4 inch pine resist sagging under books.

    Step-by-Step Instructions

    1. Cut and sand. Cut all pieces, then sand the faces with 120 grit and the edges until smooth.
    2. Mark the shelf positions. Lay the two sides next to each other and mark the shelf locations on both at the same time so they match. A good layout is the bottom shelf 2 inches up from the floor, the top flush with the top, and the two middle shelves evenly spaced.
    3. Drill pocket holes or pilot holes. If you have a pocket-hole jig, drill two or three holes in each shelf end. Otherwise, you will screw through the sides into the shelf ends, so pre-drill to prevent splitting.
    4. Assemble the box. Apply glue to a shelf end, clamp it to the side at your mark, and drive the screws. Attach the top and bottom first, then the middle shelves.
    5. Square it up. Measure both diagonals of the frame. When they are equal, the case is square.
    6. Attach the back. Glue and nail the plywood back to the sides and shelves. The back holds the bookshelf square and stops it from racking side to side.
    7. Finish. Fill screw holes with wood filler, sand with 180 grit, and apply paint or stain and a clear topcoat.

    Anchor It to the Wall

    Any bookshelf can tip over, especially with children in the home. Use an anti-tip kit to secure the top of the bookshelf to a wall stud. It takes five minutes and is the most important step.

    Make It Your Own

    Once you have built one, it is easy to change the size. Keep the shelf length the same and make the sides taller for more shelves, or add a face frame for a more finished look.

    New to the tools in this guide? Start with our list of basic tools for beginners. For more ready-made project designs with cut lists, read our overview of woodworking plans for beginners.

  • Best Wood for Beginner Woodworking Projects (and What to Avoid)

    Best Wood for Beginner Woodworking Projects (and What to Avoid)

    Choosing the right wood makes your first projects much easier. The best wood for beginners is affordable, easy to find at a home center, simple to cut and sand, and forgiving of small mistakes. Here are the six options most new woodworkers start with, what each one is good for, and a few to avoid for now.

    1. Pine

    Pine is the classic starter wood. It is inexpensive, light, and cuts easily with basic tools. The tradeoffs: it dents easily, often has knots, and can turn blotchy when stained.

    Best for: shelves, storage boxes, simple furniture, practice projects.

    2. Poplar

    Poplar is a hardwood that is still soft enough to work easily. It is straighter and more stable than pine, and it takes paint beautifully. Its green and gray streaks are why most people paint it rather than stain it.

    Best for: painted furniture, trim, drawer parts.

    3. Red Oak

    Red oak is widely available at big-box stores and is strong and hard-wearing. It is harder to cut and drill than pine, so pre-drill screw holes. Its open grain takes stain well.

    Best for: tables, chairs, and pieces that need to last.

    4. Maple

    Maple is very hard and durable, which makes it great for cutting boards and work surfaces. It can be tough on dull tools and can stain unevenly, so many people leave it natural.

    Best for: cutting boards, countertops, durable furniture.

    5. Plywood

    Good plywood, such as birch plywood, is flat, stable, and available in large sheets. It is perfect for cabinet sides, shelves, and workbench tops. Look for sheets labeled with a smooth face veneer on at least one side.

    Best for: cabinets, bookshelves, workbench tops.

    6. MDF

    Medium-density fiberboard is smooth, cheap, and perfectly flat, which makes it easy to paint. It is heavy, it swells when wet, and cutting it makes fine dust, so wear a dust mask.

    Best for: painted shelves and indoor projects that stay dry.

    Woods to Avoid as a Beginner

    • Pressure-treated lumber indoors. It is made for outdoor use and is often wet when sold.
    • Exotic, oily hardwoods. They are expensive and can be hard to glue and finish.
    • Badly warped or twisted boards. No technique fixes a board that will not sit flat.

    Understand Lumber Sizes

    Lumber is sold by nominal size, not actual size. A 1×4 board actually measures about 3/4 inch by 3-1/2 inches, and a 2×4 is about 1-1/2 by 3-1/2 inches. Always measure the real board before you plan your cuts.

    How to Pick Good Boards at the Store

    • Sight down the length of each board and skip any that bow or twist.
    • Check the ends for cracks.
    • Choose boards with small, tight knots instead of large or loose ones.
    • Let wood rest indoors for a few days before you build, so it adjusts to your home’s humidity.

    Once you have your wood, start with one of our easy woodworking projects for beginners. If you want step-by-step plans with cut lists, see our overview of woodworking plans for beginners.

  • The Beginner DIY Toolkit: 10 Tools Worth Buying First

    The Beginner DIY Toolkit: 10 Tools Worth Buying First

    You do not need a garage full of equipment to start fixing and building things around the house. A small set of basic tools for beginners handles most jobs, from hanging a shelf to tightening a wobbly chair. Here are ten tools worth buying first, and what each one is for.

    Measuring and Marking

    • Tape measure (5 m / 16 ft). Almost every project starts with a measurement. Pick one with a sturdy lock and clear markings.
    • Spirit level. A 60 cm (24 in) level keeps shelves, pictures, and frames straight.
    • Pencil and combination square. A square lets you mark accurate 90-degree lines, which is the difference between a tidy cut and a crooked one.

    Fastening and Driving

    • Claw hammer. A medium-weight hammer (around 450 g / 16 oz) drives nails and pulls them out again.
    • Screwdriver set. Get both flat and Phillips heads in a few sizes, or a single handle with interchangeable bits.
    • Cordless drill/driver. If you buy one power tool, make it this one. It drills holes and drives screws far faster than you can by hand.
    • Adjustable wrench. One wrench fits many nut and bolt sizes, which is useful for furniture and basic plumbing fittings.

    Cutting and Gripping

    • Utility knife. For opening boxes, trimming materials, and scoring. Replace the blade often, because a dull blade slips more easily.
    • Handsaw. A general-purpose saw is enough for cutting boards to length on small projects.
    • Pliers. A pair of combination pliers grips, bends, and cuts wire.

    Do Not Skip Safety Gear

    Safety glasses, work gloves, and a dust mask cost very little and protect you from the most common injuries. Wear eye protection whenever you drill, cut, or hammer.

    How to Buy Without Overspending

    • Buy tools as projects demand them instead of all at once.
    • Spend a little more on the tools you will use most, such as the drill and tape measure.
    • Keep everything in one box or bag so you can find it when you need it.

    With these basics, you can handle most simple repairs and weekend builds. As your projects grow, your toolkit can grow with them.

    Ready to put your new tools to work? Read our overview of woodworking plans for beginners to find a first project that fits your toolkit.

    Setting up your workspace?

    If you are building or upgrading a small home workshop, our review of The Ultimate Small Shop covers a guide to choosing tools, layouts, dust control and safety for small spaces.

    Read the Small Shop Guide review →