Category: Home Projects

  • Shed Foundation Options: Gravel, Blocks, Skids or Concrete?

    Shed Foundation Options: Gravel, Blocks, Skids or Concrete?

    The foundation is the least exciting part of a shed and the most important. A shed on a poor base will rack, doors will stick, and the floor can rot from below. The good news is that most backyard sheds do not need anything complicated. This guide compares the four most common shed foundation options so you can pick the right one for your yard and budget.

    What a Shed Foundation Needs to Do

    Every good shed foundation does three things:

    • Stays level so the walls stay square and doors close properly.
    • Drains water away so the floor framing does not sit in moisture.
    • Lifts the wood off the ground to give air room to circulate.

    Keep those three goals in mind as you compare the options below.

    Option 1: Gravel Pad

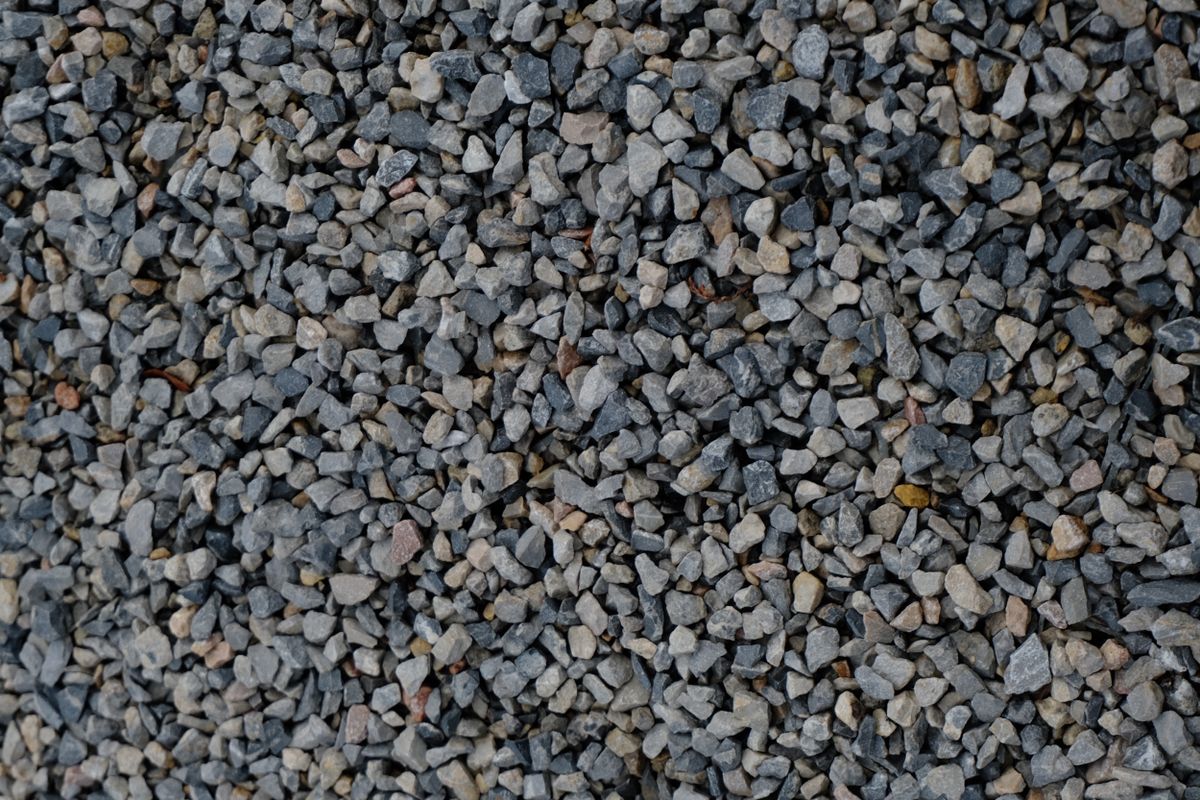
    A gravel pad is a frame of pressure-treated timbers filled with compacted crushed stone. The shed floor sits on top of the gravel or on treated runners laid across it.

    • Pros: excellent drainage, forgiving on slightly uneven ground, affordable, no concrete work.
    • Cons: takes some digging and compacting, and you need to haul a fair amount of stone.
    • Best for: most small and medium storage sheds.

    Use angular crushed stone rather than round pea gravel. The sharp edges lock together and stay put when compacted.

    Option 2: Concrete Deck Blocks

    Precast concrete blocks are set in a grid, and the floor joists or beams rest on them. Some blocks have slots that hold a 4×4 post or a joist.

    • Pros: quick to set up, low cost, works on gently sloped ground by adjusting block height.
    • Cons: every block must be carefully leveled, and they can shift on soft soil or in freeze-thaw climates.
    • Best for: small sheds on firm, well-drained ground.

    Set each block on a compacted gravel base, not directly on soil, so it does not sink over time.

    Option 3: Pressure-Treated Skids

    Skids are two or more heavy treated timbers, often 4×6 or 6×6, laid on the ground or on gravel. The floor frame is built on top. Many prefab sheds use this method.

    • Pros: simple, fast and the shed can be moved later if needed.
    • Cons: needs a level, well-drained spot; wood in contact with soil eventually wears out.
    • Best for: small sheds and portable designs.

    Always use lumber rated for ground contact, and place skids on a gravel bed if you can.

    Option 4: Concrete Slab

    A poured concrete slab is the most permanent option. The shed walls are anchored directly to the slab.

    • Pros: very solid, great for heavy equipment, workshops and larger sheds.
    • Cons: the most expensive and labor-intensive option, often requires a permit, and is very hard to change later.
    • Best for: large sheds, workshops, or sheds that will hold vehicles or heavy machines.

    Quick Comparison

    • Easiest for beginners: skids or concrete blocks
    • Best drainage: gravel pad
    • Most permanent: concrete slab
    • Best all-around choice for a typical storage shed: gravel pad

    How to Choose

    Ask yourself four questions:

    1. How big and heavy will the shed and its contents be?
    2. Is the ground flat or sloped?
    3. Does water collect in that part of the yard after rain?
    4. Do you ever want to move the shed?

    A small shed on flat, dry ground can sit happily on skids or blocks. A medium shed in a yard that gets wet does best on a gravel pad. A large workshop with heavy tools is a good case for a slab.

    Tips for Any Foundation

    • Check local rules first. Some areas specify foundation types for sheds above a certain size.
    • Clear grass and topsoil from the area before you start.
    • Use a long level or a string line to check level across the whole footprint.
    • Leave a little extra space around the shed for drainage and maintenance.

    Final Thoughts

    For most backyard sheds, a well-built gravel pad gives the best mix of drainage, cost and durability. Whatever you choose, take the time to get it level: every step that follows will be easier. If you are still choosing a design, our step-by-step shed building overview walks through the full process, and our review of RyanShedPlans covers a large library of plans with materials lists.

  • How to Build a Shed: A Beginner’s Step-by-Step Overview

    How to Build a Shed: A Beginner’s Step-by-Step Overview

    A backyard shed is one of the most satisfying projects a DIYer can take on. It frees up space in the garage, keeps tools dry, and adds real value to your yard. It is also a bigger build than a bookshelf or a planter box, so a little planning goes a long way. This guide walks through how to build a shed in the order the work actually happens, so you know what to expect before you buy a single board.

    Step 1: Decide What the Shed Is For

    Start with the job, not the design. A shed for a push mower and a few rakes is very different from one that doubles as a small workshop.

    • Tool and garden storage: usually 8×8 to 8×12 feet is enough.
    • Mower, bikes and bulky gear: plan for a wider door, at least 4 to 5 feet, and a ramp.
    • Workshop or hobby space: go bigger, add windows for light, and think about power.

    If you are unsure, read our shed size guide before you settle on dimensions.

    Step 2: Check Permits and Property Rules

    This is the step people skip and regret. Many towns require a building permit once a shed passes a certain size, often somewhere between 100 and 200 square feet, and most set minimum distances from property lines and fences. Homeowner associations can have their own rules on height, color and placement. A quick call to your local building department before you start can save you from tearing down a finished shed.

    Step 3: Get a Complete Plan

    A good plan does three jobs for you. It shows how every part fits together, it lists every board and fastener you need, and it gives the cuts in a sensible order. Without one, it is easy to frame a wall that does not match the roof pitch, or to buy far more lumber than you need.

    Look for plans that include:

    • Framing drawings for the floor, walls and roof
    • A materials and cutting list
    • Door and window framing details
    • Step-by-step instructions in build order

    If you want a large selection of designs to choose from, see our overview of RyanShedPlans, a library of shed plans with drawings and cutting lists.

    Step 4: Build a Level Foundation

    Everything above depends on the foundation, so take your time here. The most common options for DIY sheds are a compacted gravel pad, concrete deck blocks, pressure-treated skids, or a poured concrete slab. Each has pros and cons, which we compare in our shed foundation guide. Whatever you choose, the goal is the same: a base that is level, drains well and keeps wood off the wet ground.

    Step 5: Frame the Floor

    Most shed floors are built like a small deck: a rectangle of pressure-treated joists, usually spaced 16 inches apart, covered with plywood or OSB rated for flooring.

    1. Build the outer rim first and check it is square by measuring both diagonals. They should match.
    2. Add the inner joists at even spacing.
    3. Fasten the floor sheathing with construction screws or ring-shank nails.

    Use lumber rated for ground contact anywhere wood sits close to the soil.

    Step 6: Frame and Raise the Walls

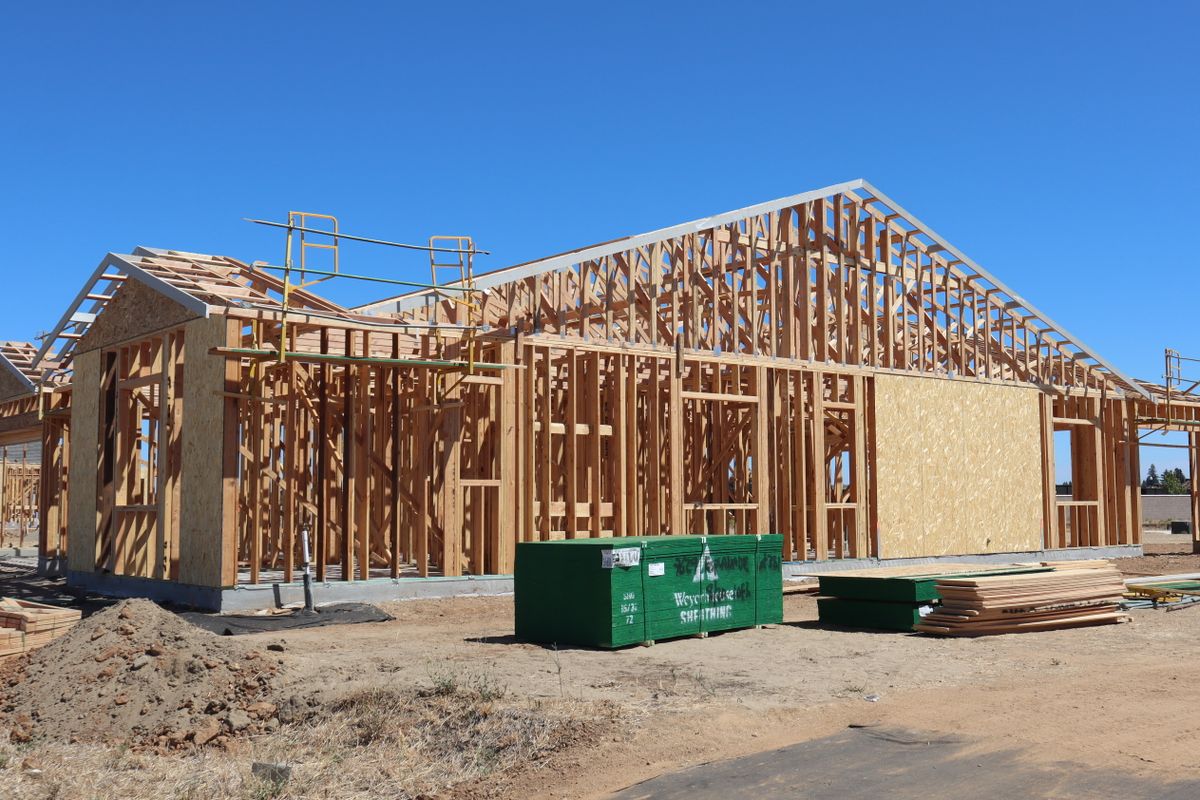
    Walls are usually framed flat on the finished floor, then tilted up into place. Each wall has a bottom plate, a top plate, studs 16 inches apart, and headers above door and window openings.

    • Frame the two longer walls first, then the shorter end walls.
    • Brace each wall plumb as soon as it is standing.
    • Add a second top plate that overlaps the corners to tie the walls together.

    An extra pair of hands makes raising walls much safer and easier.

    Step 7: Build the Roof

    Roof style has the biggest effect on how a shed looks and how much headroom you get. A simple gable roof is the most common choice for beginners. Rafters are cut to the same pattern, so cut one, test it, and use it as a template for the rest. Cover the rafters with roof sheathing, add drip edge, underlayment and then shingles or metal roofing.

    Step 8: Siding, Doors and Trim

    Once the shell is up, add the siding, hang the doors and finish the trim. Prime and paint or stain all exposed wood, including cut ends, to keep moisture out. Adding a pair of small vents high on the walls helps reduce condensation inside.

    Common Beginner Mistakes

    • Skipping the permit check
    • Building on ground that is not level or drains poorly
    • Guessing on roof angles instead of following a plan
    • Using untreated lumber close to the ground
    • Making the door too narrow for the equipment going inside

    How Long Does It Take?

    A small storage shed is often a project for two to four weekends for a first-time builder working with a helper. Larger sheds, or ones with windows, lofts or power, take longer. Building in stages, foundation one weekend and framing the next, keeps the work manageable.

    Final Thoughts

    Building a shed is very doable for a patient beginner with basic tools. Plan the size around what you will store, check local rules, start with a solid level base, and follow a plan that shows every cut. The result is a structure you built yourself and will use every week.

  • How to Fix a Leaky Faucet: Step-by-Step for Beginners

    How to Fix a Leaky Faucet: Step-by-Step for Beginners

    A dripping faucet wastes water and money, and the sound alone is enough to drive you crazy. The good news is that most drips come from a worn part that costs a few dollars. Here is how to fix a leaky faucet with basic tools in about an hour.

    What You Will Need

    • Adjustable wrench and pliers
    • Screwdrivers (flathead and Phillips) and an Allen key set
    • Replacement washer, O-ring, or cartridge for your faucet
    • Plumber’s grease
    • A towel and a small container for parts

    Step 1: Identify Your Faucet Type

    • Compression faucet: two handles that you twist to tighten. These use rubber washers that wear out.
    • Cartridge faucet: one or two handles that move smoothly. Most single-handle faucets in U.S. homes use a cartridge.
    • Ball faucet: a single handle on a rounded cap, common in older kitchens.
    • Ceramic disc faucet: a single lever over a wide cylinder body.

    If you know the brand, look up the model. Many manufacturers offer replacement parts and diagrams online.

    Step 2: Turn Off the Water

    Close the shut-off valves under the sink by turning them clockwise. Open the faucet to let the remaining water drain and to confirm the supply is off. Put a towel in the sink and close the drain so small parts cannot fall in.

    Step 3: Remove the Handle

    Pry off the decorative cap on the handle, remove the screw underneath, and pull the handle off. Some handles use a small set screw that needs an Allen key.

    Step 4: Replace the Worn Part

    Compression faucet: unscrew the packing nut and stem. Replace the rubber washer held by a screw at the bottom of the stem, and replace the O-ring on the stem.

    Cartridge faucet: remove the retaining clip or nut, then pull the cartridge straight out. Take it to a hardware store to find an exact match, or order the part for your model.

    Ball or ceramic disc faucet: these usually leak because of worn seals or springs. Replacement kits are available for most brands.

    Put a light coat of plumber’s grease on new O-rings before installing them.

    Step 5: Reassemble and Test

    Reassemble the parts in reverse order. Turn the shut-off valves back on slowly, then run the faucet and check for drips at the spout and around the handle.

    Tips for Success

    • Lay parts out in order on a towel as you remove them, or take photos at each step.
    • Do not overtighten fittings. Snug is enough.
    • If water leaks from the base of the faucet, the problem may be an O-ring rather than a washer or cartridge.

    When to Call a Plumber

    Call a licensed plumber if the shut-off valves do not close completely, if pipes are corroded, or if the faucet body itself is cracked. In those cases, replacing the faucet may be the better fix.

    For more small fixes you can do yourself, see our list of easy home repairs.

  • 6 Simple Home Repairs You Can Do in a Weekend

    6 Simple Home Repairs You Can Do in a Weekend

    Many small problems around the house look harder to fix than they are. With a few basic tools and a free weekend, you can handle these six easy home repairs yourself and save the cost of calling someone in.

    1. Tighten Loose Cabinet Hinges and Handles

    A sagging cabinet door usually needs nothing more than a screwdriver. Tighten the hinge screws, and if a screw hole is stripped, push a wooden toothpick with a drop of wood glue into the hole, let it dry, trim it flush, and drive the screw back in.

    2. Fix a Squeaky Door

    Apply a small amount of lubricant to the hinge pins, then open and close the door a few times to work it in. Wipe away any drips.

    3. Patch Small Holes in a Wall

    For nail holes and small dents, press filler into the hole with a putty knife, let it dry, sand it smooth, and touch up the paint. Larger holes need a patch kit, which comes with instructions.

    4. Re-Seal Around a Bath or Sink

    Old, cracked sealant lets water get behind tiles. Cut away the old bead, clean and dry the joint fully, then apply a new line of bathroom sealant and smooth it with a wet finger or a shaping tool. Let it cure for the time stated on the tube before using water.

    5. Unclog a Slow Drain

    Remove and clean the drain stopper first, since hair and soap often collect there. If the drain is still slow, use a plunger or a plastic drain snake before reaching for chemical cleaners.

    6. Stop a Draft Around a Door or Window

    Self-adhesive weatherstripping is cheap and quick to fit. Clean the frame, cut the strip to length, and press it in place. You should notice the difference straight away on a windy day.

    Know When to Call a Professional

    Some jobs are not good beginner projects. Anything involving mains electrical wiring, gas, structural walls, or a leak you cannot locate should go to a qualified tradesperson. If you are not sure, ask before you start.

    Before You Begin

    • Read the instructions on any product you use.
    • Wear safety glasses and gloves where it makes sense.
    • Take a photo before you take something apart, so you know how it goes back together.

    Related guides: How to Fix a Leaky Faucet · The Beginner DIY Toolkit