Category: Garden

  • What Size Shed Do I Need? A Simple Sizing Guide

    What Size Shed Do I Need? A Simple Sizing Guide

    The most common regret among shed owners is simple: they built it too small. Garden tools, bikes, holiday decorations and the new lawn mower all compete for space faster than you expect. On the other hand, a shed that is too large can take over the yard and may need a permit. This guide will help you answer the question “what size shed do I need?” before you build or buy.

    Start With a Simple Inventory

    Before thinking about dimensions, list what will go inside. Group items by size:

    • Large: lawn mower, wheelbarrow, bikes, snow blower, grill
    • Medium: bins, bags of soil, coolers, ladders
    • Small: hand tools, pots, hoses, paint cans

    Large items drive the floor size. Medium and small items can often go on shelves and wall hooks, which is why wall space matters as much as floor space.

    Common Shed Sizes and What Fits

    4×6 or 4×8 (lean-to or mini shed)

    Good for hand tools, a few garden supplies and a hose reel. It will not fit a ride-on mower. A great choice for small yards and patios.

    8×8

    A popular entry size. It fits a push mower, a wheelbarrow, rakes and shovels, with shelves on one wall.

    8×10 or 8×12

    The sweet spot for many homes. Room for a push mower, bikes, a workbench along one wall, and storage bins. If you are unsure, this range is a safe bet.

    10×12 to 12×16

    Fits a riding mower, more bikes, and a real potting bench or small workshop area. Check local permit rules carefully at this size.

    Larger than 12×16

    Now you are into workshop, studio or garage territory. Expect a permit, a stronger foundation and possibly electrical work.

    Do Not Forget Height and Doors

    Floor size is only part of the picture.

    • Wall height: taller walls let you stack shelves higher and hang long tools.
    • Roof style: a gambrel or barn-style roof adds overhead storage space, and some designs allow a small loft.
    • Door width: measure your widest item. Riding mowers and wheelbarrows often need a double door.
    • Ramp: heavy equipment rolls in much more easily with a ramp than a step.

    Check the Rules Before You Choose

    Many towns set a size limit, often somewhere between 100 and 200 square feet, above which a shed needs a building permit. There may also be rules about height and distance from property lines. A 10×12 shed is 120 square feet, so it sits right in the range where rules often change. Confirm your local limits early so your plan fits the rules.

    A Simple Rule of Thumb

    Add up what you need today, then add roughly 25 to 50 percent for the future. Storage needs almost always grow. If two sizes look close, choose the larger one as long as it fits your yard and local rules.

    Plan the Inside Layout

    Sketch the floor plan on paper before you decide:

    1. Put the largest items nearest the door.
    2. Run shelves along the back and side walls.
    3. Use wall hooks and pegboard for long-handled tools.
    4. Leave a clear path at least 2 to 3 feet wide down the middle.

    Final Thoughts

    For most households, an 8×10 to 10×12 shed covers garden tools, a mower and seasonal storage with room to grow. Measure your largest items, check local rules, and plan for more storage than you think you need. When you are ready to build, our shed building overview covers each step, and our RyanShedPlans review looks at a large library of designs in many sizes and roof styles.
  • How to Build a Garden Trellis: 3 Easy DIY Options

    How to Build a Garden Trellis: 3 Easy DIY Options

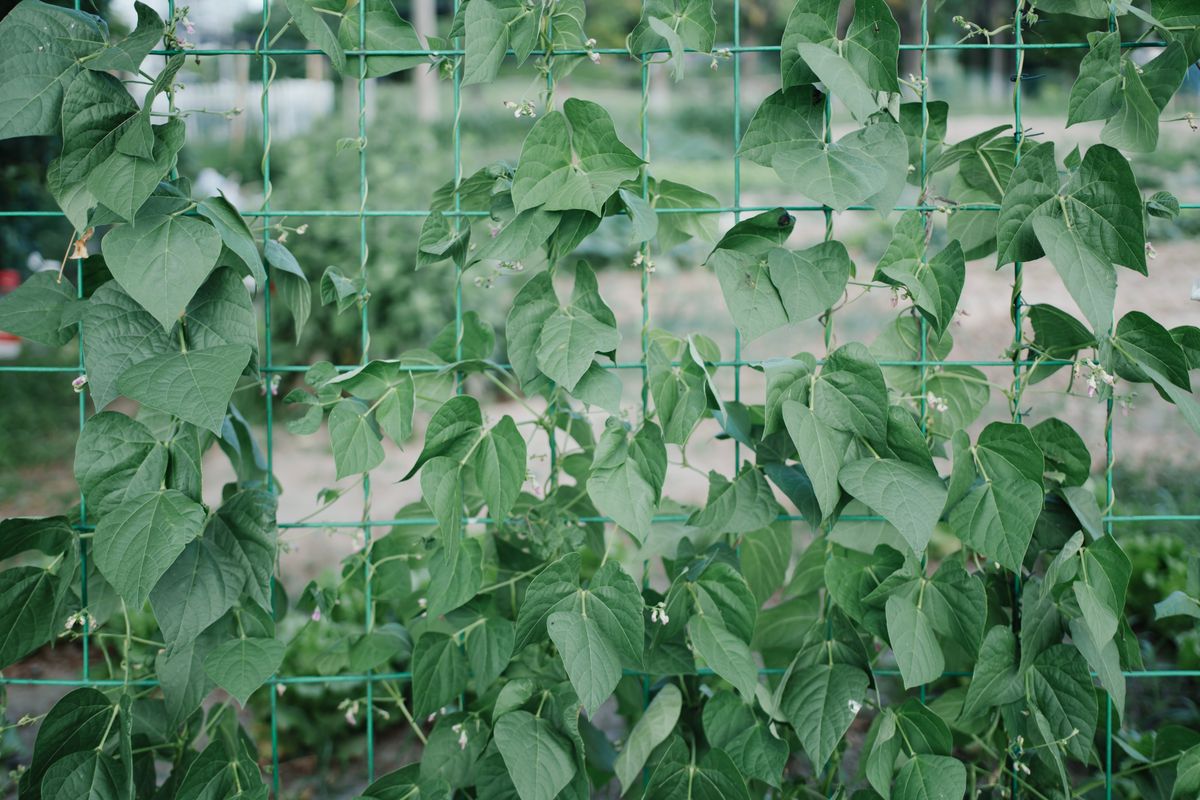
    A trellis lets climbing plants grow up instead of out. You save space, get better airflow around leaves, and keep fruit off the ground. Here is how to build a garden trellis with three simple designs, from quick and cheap to sturdy and long-lasting.

    Which Plants Need a Trellis?

    • Cucumbers
    • Pole beans
    • Peas
    • Indeterminate tomatoes
    • Small melons and squash (with slings for the fruit)
    • Climbing flowers such as morning glories and sweet peas

    Where to Put It

    Place your trellis on the north side of a bed so it does not shade shorter plants. Set it up before or at planting time so you do not disturb roots later.

    Option 1: Simple Post and Twine Trellis

    Best for: peas and pole beans.

    1. Drive two sturdy wood posts or metal T-posts into the ground about 4 to 6 feet apart. Set wood posts at least 12 to 18 inches deep.
    2. Screw or tie a crossbar between the tops of the posts.
    3. Tie garden twine from the crossbar down to a lower wire or stake every 6 inches.
    4. Compost the twine and old vines together at the end of the season.

    Option 2: A-Frame Trellis

    Best for: cucumbers and beans in raised beds.

    1. Build two rectangular frames from 2×2 lumber, about 4 feet wide and 5 feet tall.
    2. Staple or screw garden netting, wire mesh, or wooden lattice across each frame.
    3. Hinge the frames together at the top, or tie them, so they stand as an “A.”
    4. Plant on both sides. The space underneath works well for shade-tolerant lettuce in summer.

    Option 3: Cattle Panel Arch

    Best for: heavy crops and a long-lasting garden feature.

    1. Buy a galvanized cattle panel, often sold in 16 foot lengths at farm supply stores.
    2. Drive two T-posts on each side where the ends of the arch will stand.
    3. Bend the panel into an arch between two beds or over a path. This works best with two people.
    4. Secure the ends to the T-posts with heavy-duty zip ties or wire.

    Cattle panel arches are very strong and can last for many seasons.

    Tips for Training Plants

    • Gently guide young vines onto the trellis and tie them loosely with soft twine.
    • Check plants every few days during fast growth.
    • Harvest often. Many climbing crops produce more when picked regularly.

    Wondering what to grow on it? See our list of the best vegetables for raised beds, and learn how to build a raised garden bed to go with it.

    Need more storage in the yard?

    A backyard shed keeps tools, soil and garden gear organized. See our overview of RyanShedPlans, a library of shed designs with cutting lists and step-by-step instructions.

    Read the Shed Plans review →
  • Fall Garden Cleanup Checklist: 12 Tasks Before Winter

    Fall Garden Cleanup Checklist: 12 Tasks Before Winter

    A little work in fall pays off next spring. A good fall garden cleanup protects your soil, prevents pests and diseases from overwintering, and keeps your tools in good shape. Use this checklist to get your garden ready for winter.

    In the Vegetable Garden

    1. Remove Diseased Plants

    Pull out plants that had blight, mildew, or other diseases and put them in the trash, not the compost. Disease can survive the winter in plant debris.

    2. Clear Spent Annual Vegetables

    Pull out finished tomato, squash, and bean plants. Healthy plant material can go on the compost pile.

    3. Plant Garlic

    In many areas, fall is the time to plant garlic for harvest next summer. Check timing with your local extension office.

    4. Protect the Soil

    Spread a few inches of compost or shredded leaves over empty beds, or sow a cover crop such as winter rye or clover where it suits your climate. Covered soil erodes less and gains organic matter.

    5. Test Your Soil

    Fall is a great time for a soil test. Many cooperative extension offices offer affordable testing and recommendations.

    In Flower Beds and the Yard

    6. Leave Some Stems and Seed Heads

    Not everything needs cutting back. Seed heads feed birds, and hollow stems shelter beneficial insects over winter.

    7. Plant Spring Bulbs

    Tulips, daffodils, and crocuses go in the ground in fall for spring color. Plant them before the ground freezes.

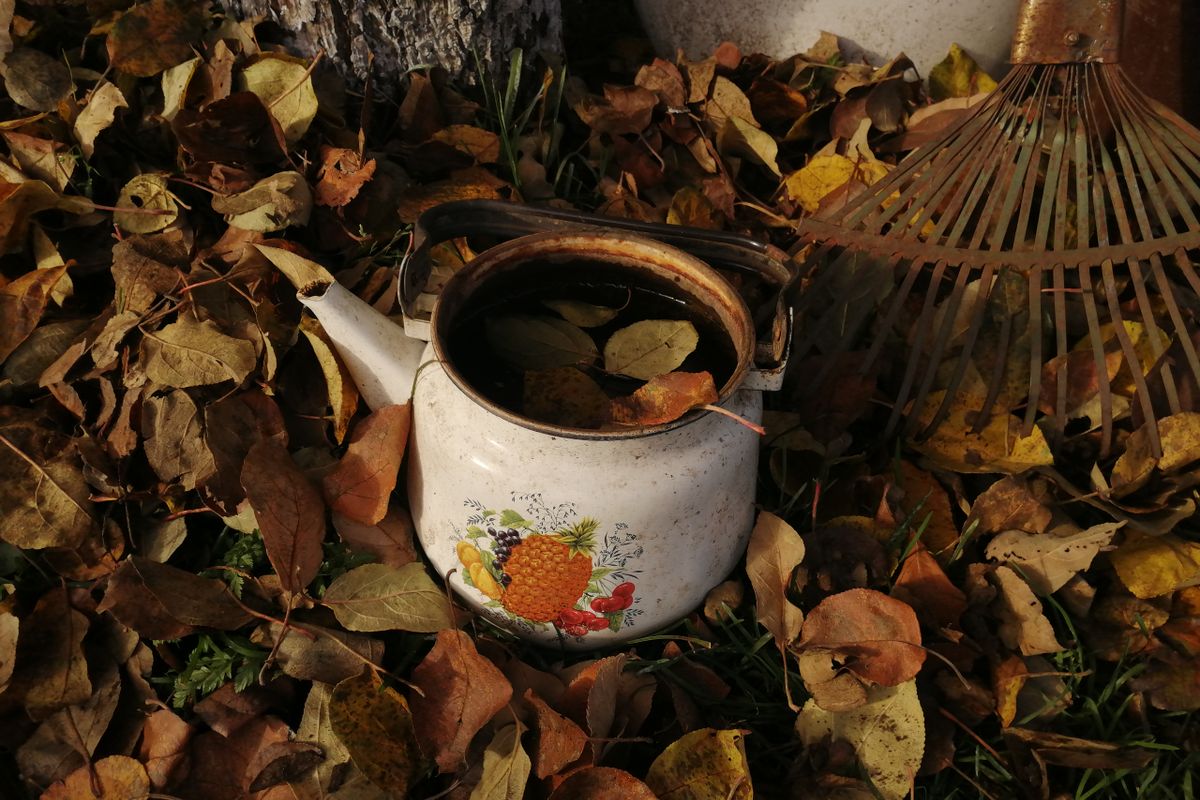
    8. Use Your Leaves

    Rake leaves off the lawn, then shred them with a mower and use them as mulch or compost material.

    9. Mulch Perennials

    After the ground has frozen in cold climates, add mulch around perennials to protect their roots from freeze-thaw cycles.

    10. Water Before the Freeze

    Evergreens and newly planted trees benefit from a deep watering before the ground freezes.

    Tools and Equipment

    11. Clean and Sharpen Tools

    Scrape off soil, sharpen pruners and shovels, and wipe metal parts with a light coat of oil to prevent rust.

    12. Drain and Store Hoses

    Drain garden hoses and store them indoors. Disconnect hoses from outdoor faucets before the first hard freeze to help prevent frozen pipes.

    Plan Ahead

    Fall is a great time to plan next year’s garden and build new beds. Learn how to build a raised garden bed now, and it will be ready to fill and plant in spring.

    Need more storage in the yard?

    A backyard shed keeps tools, soil and garden gear organized. See our overview of RyanShedPlans, a library of shed designs with cutting lists and step-by-step instructions.

    Read the Shed Plans review →
  • How to Start a Compost Pile: A Simple Guide for Beginners

    How to Start a Compost Pile: A Simple Guide for Beginners

    Compost turns kitchen scraps and yard waste into rich soil for your garden, for free. It cuts down on trash, too. Here is how to start a compost pile even if you have never done it before.

    Choose a Spot

    Pick a level, well-drained spot that is easy to reach from your kitchen and close to a hose. Partial shade helps keep the pile from drying out. You can use an open pile, a simple bin made from wood pallets, or a store-bought compost bin or tumbler.

    Understand Browns and Greens

    A healthy pile needs a mix of two kinds of material:

    • Browns (carbon): dry leaves, straw, shredded newspaper, cardboard, small twigs.
    • Greens (nitrogen): fruit and vegetable scraps, coffee grounds, tea leaves, fresh grass clippings, plant trimmings.

    A common rule of thumb is about two to three parts browns to one part greens by volume. If the pile smells bad, add more browns. If nothing is happening, add more greens.

    Step-by-Step

    1. Start with a layer of browns, such as coarse twigs or straw, to help air flow at the bottom.
    2. Alternate layers of greens and browns, keeping the ratio in mind.
    3. Add water so the pile is as damp as a wrung-out sponge.
    4. Build it big enough. A pile around 3 feet wide, 3 feet deep, and 3 feet tall holds enough heat to break down quickly.
    5. Turn it with a garden fork every week or two to add oxygen and speed things up.

    What Not to Compost

    • Meat, fish, bones, and dairy, which attract pests and smell
    • Oils and greasy foods
    • Pet waste
    • Diseased plants and weeds that have gone to seed
    • Yard waste treated with herbicides

    How Long Does It Take?

    A pile that is turned often and kept moist can be ready in about two to three months in warm weather. A pile that is left alone may take six months to a year. Compost is finished when it is dark, crumbly, and smells like earth, and you can no longer recognize the original materials.

    Troubleshooting

    • Bad smell: too wet or too many greens. Add browns and turn the pile.
    • Dry and slow: add water and greens.
    • Pests: bury food scraps in the center of the pile and avoid meat and dairy.

    Using Your Compost

    Mix it into garden beds, spread it as a top dressing around plants, or add a few inches to your raised beds each season. See our list of the best vegetables for raised beds for what to grow in it.

  • 12 Best Vegetables for Raised Beds (Easy for Beginners)

    12 Best Vegetables for Raised Beds (Easy for Beginners)

    Raised beds warm up quickly in spring, drain well, and give roots loose soil to grow in. That makes them ideal for many vegetables. Here are the best vegetables for raised beds, especially if you are just getting started.

    Before You Plant: Sun and Timing

    Most vegetables need at least 6 to 8 hours of direct sun a day. Check your USDA plant hardiness zone and your local average last and first frost dates. Your local cooperative extension office publishes planting calendars for your area.

    Quick, Easy Crops

    1. Lettuce and Salad Greens

    Fast-growing and perfect for cool weather. Sow a short row every couple of weeks for a steady harvest.

    2. Radishes

    Some varieties are ready in about a month. They are a great first crop for kids.

    3. Spinach

    A cool-season green that grows well in spring and fall.

    4. Bush Beans

    Compact plants that do not need a trellis and produce heavily in warm weather.

    Root Crops That Love Loose Soil

    5. Carrots

    Raised beds give carrots the deep, stone-free soil they need for straight roots. Thin seedlings so they have room.

    6. Beets

    Both the roots and the leaves are edible.

    7. Onions

    Plant sets or transplants in early spring.

    Warm-Season Favorites

    8. Tomatoes

    Choose compact “determinate” or patio varieties for small beds, and give them a sturdy cage or stake.

    9. Peppers

    Peppers love the warmth of raised beds. Wait until the soil is warm before planting.

    10. Zucchini

    Productive but large. One or two plants are plenty for most families.

    11. Cucumbers

    Grow them up a garden trellis to save space and keep the fruit clean.

    Herbs

    12. Basil, Parsley, and Chives

    Herbs fit into the corners of a bed and are used constantly in the kitchen.

    Spacing Tips

    Square-foot gardening is a simple way to plan a raised bed. Divide the bed into 1-foot squares and plant a set number per square, for example one tomato, four lettuces, nine bush beans, or sixteen carrots. Put tall crops, such as tomatoes and trellised cucumbers, on the north side so they do not shade shorter plants.

    Keep the Soil Healthy

    Top up your bed each year with a few inches of compost. Our guide on how to start a compost pile shows you how to make your own.

    Don’t have a raised bed yet? Learn how to build a raised garden bed in an afternoon.

  • How to Build a Raised Garden Bed: A Simple Guide for Beginners

    How to Build a Raised Garden Bed: A Simple Guide for Beginners

    Learning how to build a raised garden bed is one of the best first outdoor projects. It gives you better control over your soil, improves drainage, and makes planting and weeding easier on your back. This guide shows how to build a raised garden bed in one afternoon with basic tools.

    What You Will Need

    • Four boards of untreated, rot-resistant wood such as cedar or larch. For a 120 x 240 cm (4 x 8 ft) bed, you need two long boards and two short ones, about 25 to 30 cm (10 to 12 in) tall.
    • Four corner posts cut from a 10 x 10 cm (4 x 4 in) post, the same height as your boards.
    • Exterior-grade screws, about 8 cm (3 in) long.
    • A drill/driver, tape measure, saw, and level.
    • Cardboard for the base, plus soil and compost to fill the bed.

    Step-by-Step Instructions

    1. Choose the spot. Most vegetables need at least six hours of direct sun a day. Pick level ground close to a water source.
    2. Cut the boards and posts. Keep the bed no wider than 120 cm (4 ft) so you can reach the middle from either side.
    3. Assemble the frame. Screw each board to the corner posts, drilling pilot holes first so the wood does not split. Use two or three screws per board end.
    4. Position and level. Set the frame in place and check it with a level. Dig out high spots as needed.
    5. Line the base. Lay plain cardboard over the grass inside the frame. It blocks weeds and breaks down over time.
    6. Fill the bed. A common mix is roughly two parts topsoil to one part compost. Fill to a few centimetres below the top edge and water it well.

    What to Plant First

    Start with forgiving crops such as lettuce, radishes, bush beans, and herbs like basil and parsley. They grow quickly and tell you a lot about your soil and sunlight.

    Common Mistakes to Avoid

    • Making the bed too wide to reach across.
    • Using wood treated with chemicals you do not want near food crops. If you are unsure, ask the supplier.
    • Filling the bed with garden soil alone, which can compact and drain poorly.
    • Placing the bed in a shady or hard-to-water spot.

    Once your first bed is producing, adding a second one is quick, because you already know the steps.

    Need more storage in the yard?

    A backyard shed keeps tools, soil and garden gear organized. See our overview of RyanShedPlans, a library of shed designs with cutting lists and step-by-step instructions.

    Read the Shed Plans review →

    Related guides: 12 Best Vegetables for Raised Beds · How to Start a Compost Pile