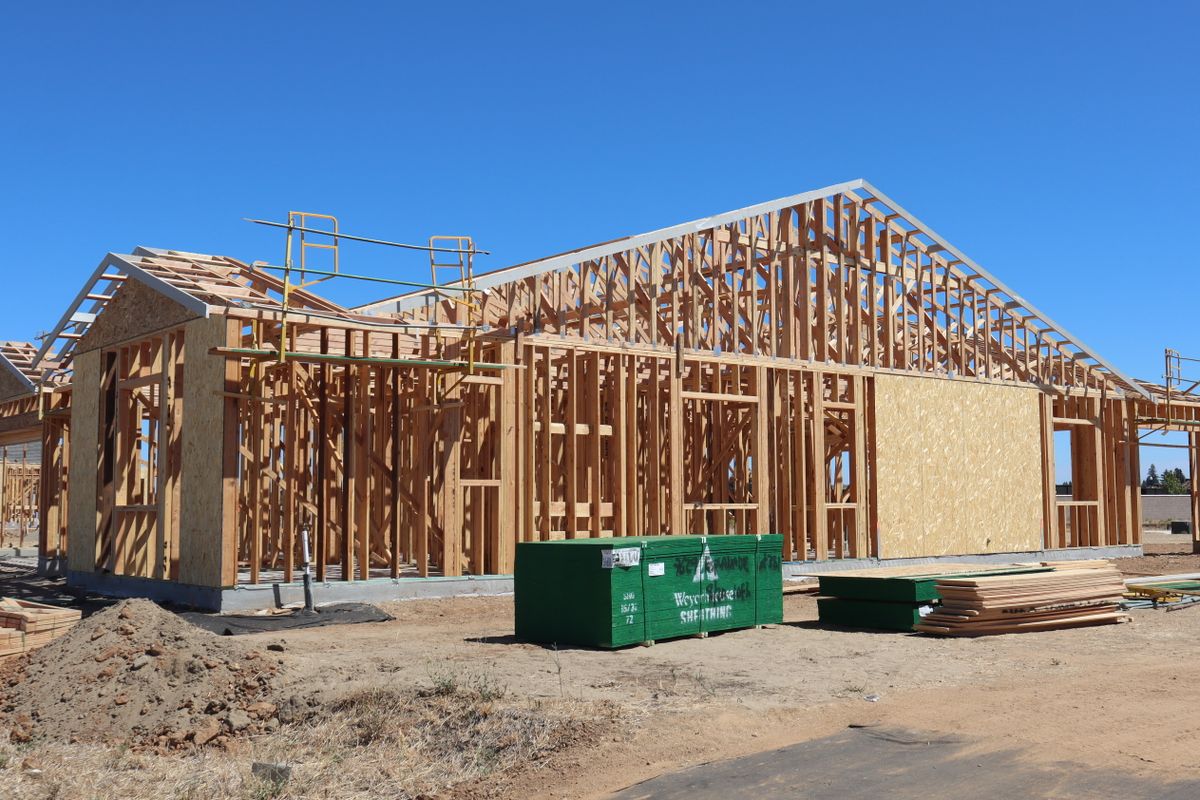
A backyard shed is one of the most satisfying projects a DIYer can take on. It frees up space in the garage, keeps tools dry, and adds real value to your yard. It is also a bigger build than a bookshelf or a planter box, so a little planning goes a long way. This guide walks through how to build a shed in the order the work actually happens, so you know what to expect before you buy a single board.
Step 1: Decide What the Shed Is For
Start with the job, not the design. A shed for a push mower and a few rakes is very different from one that doubles as a small workshop.
- Tool and garden storage: usually 8×8 to 8×12 feet is enough.
- Mower, bikes and bulky gear: plan for a wider door, at least 4 to 5 feet, and a ramp.
- Workshop or hobby space: go bigger, add windows for light, and think about power.
If you are unsure, read our shed size guide before you settle on dimensions.
Step 2: Check Permits and Property Rules
This is the step people skip and regret. Many towns require a building permit once a shed passes a certain size, often somewhere between 100 and 200 square feet, and most set minimum distances from property lines and fences. Homeowner associations can have their own rules on height, color and placement. A quick call to your local building department before you start can save you from tearing down a finished shed.
Step 3: Get a Complete Plan
A good plan does three jobs for you. It shows how every part fits together, it lists every board and fastener you need, and it gives the cuts in a sensible order. Without one, it is easy to frame a wall that does not match the roof pitch, or to buy far more lumber than you need.
Look for plans that include:
- Framing drawings for the floor, walls and roof
- A materials and cutting list
- Door and window framing details
- Step-by-step instructions in build order
If you want a large selection of designs to choose from, see our overview of RyanShedPlans, a library of shed plans with drawings and cutting lists.
Step 4: Build a Level Foundation
Everything above depends on the foundation, so take your time here. The most common options for DIY sheds are a compacted gravel pad, concrete deck blocks, pressure-treated skids, or a poured concrete slab. Each has pros and cons, which we compare in our shed foundation guide. Whatever you choose, the goal is the same: a base that is level, drains well and keeps wood off the wet ground.
Step 5: Frame the Floor
Most shed floors are built like a small deck: a rectangle of pressure-treated joists, usually spaced 16 inches apart, covered with plywood or OSB rated for flooring.
- Build the outer rim first and check it is square by measuring both diagonals. They should match.
- Add the inner joists at even spacing.
- Fasten the floor sheathing with construction screws or ring-shank nails.
Use lumber rated for ground contact anywhere wood sits close to the soil.
Step 6: Frame and Raise the Walls
Walls are usually framed flat on the finished floor, then tilted up into place. Each wall has a bottom plate, a top plate, studs 16 inches apart, and headers above door and window openings.
- Frame the two longer walls first, then the shorter end walls.
- Brace each wall plumb as soon as it is standing.
- Add a second top plate that overlaps the corners to tie the walls together.
An extra pair of hands makes raising walls much safer and easier.
Step 7: Build the Roof
Roof style has the biggest effect on how a shed looks and how much headroom you get. A simple gable roof is the most common choice for beginners. Rafters are cut to the same pattern, so cut one, test it, and use it as a template for the rest. Cover the rafters with roof sheathing, add drip edge, underlayment and then shingles or metal roofing.
Step 8: Siding, Doors and Trim
Once the shell is up, add the siding, hang the doors and finish the trim. Prime and paint or stain all exposed wood, including cut ends, to keep moisture out. Adding a pair of small vents high on the walls helps reduce condensation inside.
Common Beginner Mistakes
- Skipping the permit check
- Building on ground that is not level or drains poorly
- Guessing on roof angles instead of following a plan
- Using untreated lumber close to the ground
- Making the door too narrow for the equipment going inside
How Long Does It Take?
A small storage shed is often a project for two to four weekends for a first-time builder working with a helper. Larger sheds, or ones with windows, lofts or power, take longer. Building in stages, foundation one weekend and framing the next, keeps the work manageable.
Final Thoughts
Building a shed is very doable for a patient beginner with basic tools. Plan the size around what you will store, check local rules, start with a solid level base, and follow a plan that shows every cut. The result is a structure you built yourself and will use every week.
Leave a Reply